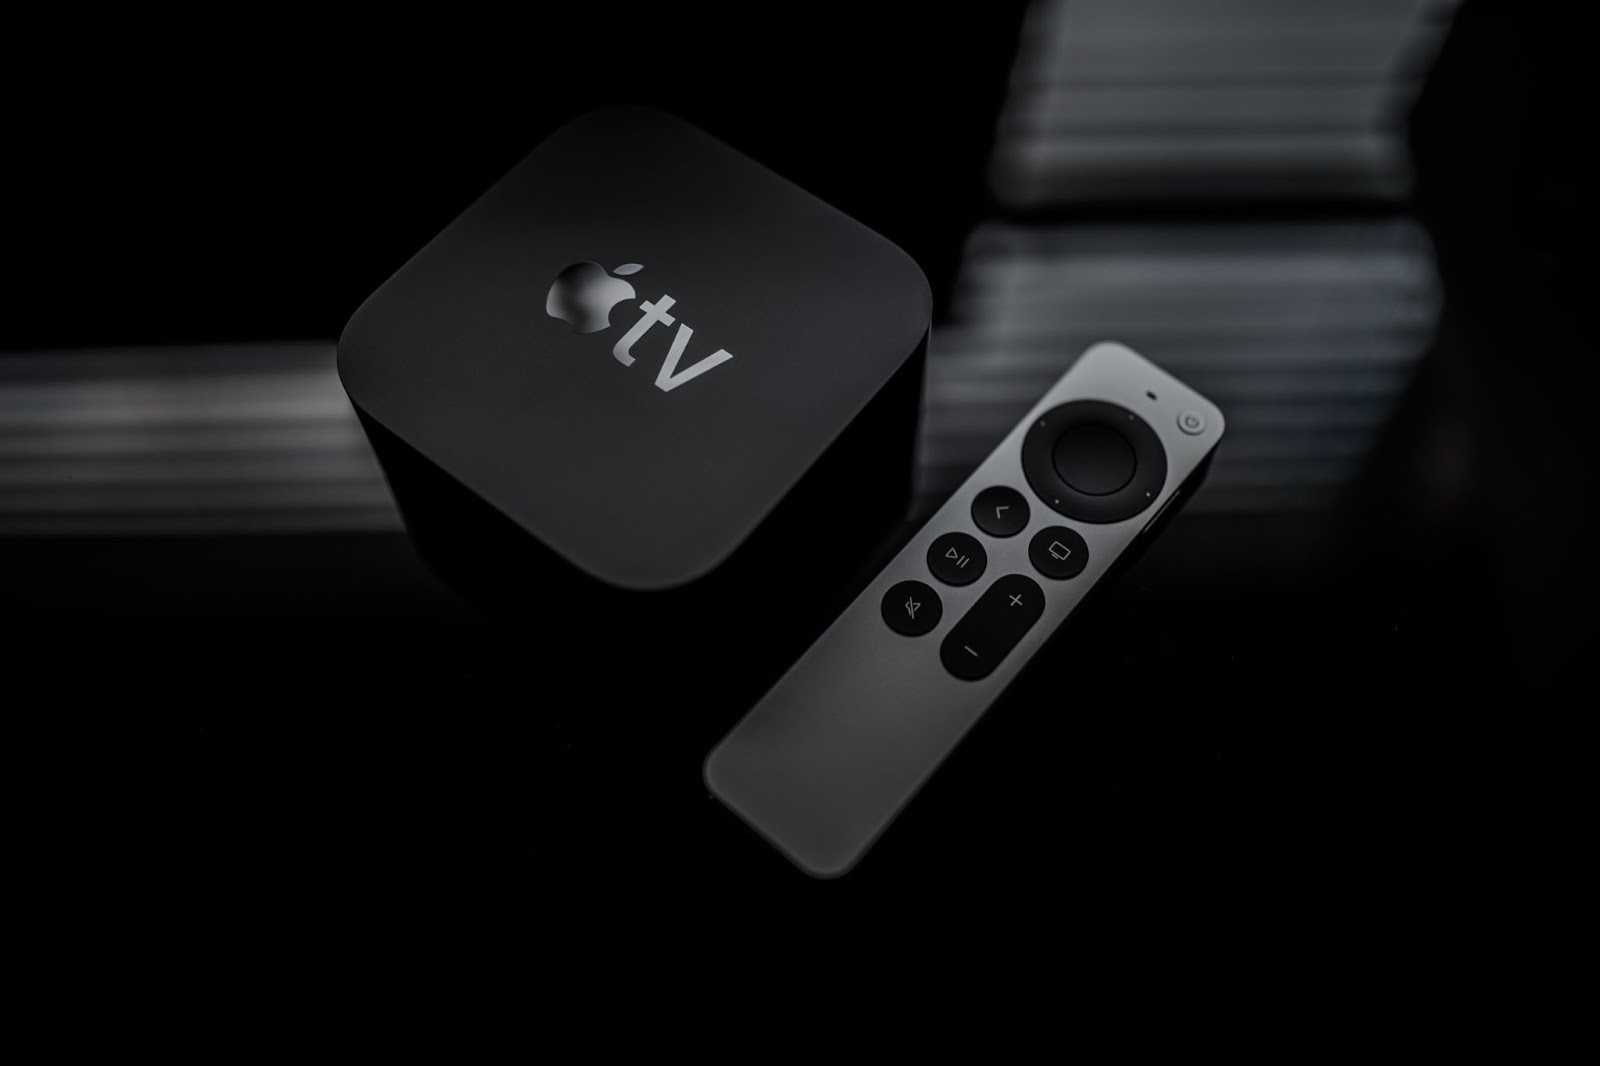
Apple TV
Apple TV – There is no reason not to buy this amazing streaming box. Ever since Apple partnered with top TV manufacturers such as Vizio, LG, Sony, and Samsung and integrated its best features like AirPlay 2, HomeKit, and iTunes, Apple TV has only gotten more popular.
But despite bringing Apple’s ecosystem to your TV and making streaming content an even more seamless experience, Apple TV has its shortcomings. Well, more specifically, it’s the apps that run on it that are plagued with geo-restrictions. You can use Surf Shark VPN with free trail in order to change the location.
Allow us to explain.
You see, while you can use Apple TV pretty much anywhere in the world, you will face issues when accessing any region blocked streaming service on it. Take, for example, Hulu. Now, Hulu is only available in the United States. So if you’re outside the USA, you won’t be able to watch any of its content on your Apple TV.
Bummer, right?
Well, there is light at the end of the tunnel.
By changing your geo-location on your Apple TV, you can appear to be anywhere in the world. To watch Hulu, for example, you’d just connect to a US server.
Simple right?
In this short guide, we’ll show you how to fake your location on your Apple TV. Once you’re done, you’ll be able to watch any content on your Apple TV without having to deal with geo-restrictions.
To make your life even easier, we’ll also show you how to change your Apple ID region. You know, you can download apps from the Apple App Store that are not available in your country.
So without any further delay, let’s get started.
How to change your geo-location on your Apple TV?
The easiest way to fake your geo-location on your Apple TV is to use Smart DNS or DNS proxy. Domain Name System is what translates IP addresses into domain names.
DNS requests are mostly handled by your local internet service provider (ISP) in the country where you’re located.
Streaming sites first verify the location from which the DNS request was made to determine whether a user should get access or not.
If you could somehow send your DNS requests to a server located in a different country, you can easily get past geo-restrictions and unblock any content on Apple TV from anywhere in the world.
While I would suggest using a VPN on Apple TV to spoof your geo-location, Apple TV doesn’t have native support. What it does have is support for changing custom DNS servers.
Some VPN providers offer support for Smart DNS. ExpressVPN, for example, offers its MediaStreamer Smart DNS feature for absolutely free. It’ll be part of the VPN subscription plan you’ll purchase.
Anyway, Here’s how you can change DNS servers on 4th gen and above models of Apple TV:
- Access the home screen of your Apple TV.
- Click on “Settings” and then “Network.”
- Click on “Configure DNS” first and then “Manual.”
- Now, simply type in the address of your VPN provider’s smart DNS server and finally click on “Done.”
- Lastly, restart your Apple TV, and you’ll be done.
Wasn’t this simple?
How to change the iTunes region of your Apple TV (4th gen and above)
Changing your iTunes region is simple for Apple TV 4. To have an iTunes account for any country of your choice, you’ll need to first sign out of your current Apple iTunes ID/account. To do that, here’s what you need to do:
- Go to Settings on your Apple TV.
- Next, visit the iTunes Store.
- After that, you need to select Apple IDs and then select Sign Out.
Now you’re all set to create a new iTunes account of any country.
Here’s how to change your iTunes location:
- Navigate to the end of iTunes and choose your preferred country location.
- Next, find any free app and select it to download.
- Next, create a new Apple ID account.
- To create a new Apple ID, you’ll need to use a different email address from the one you previously used to register.
- When asked, simply choose ‘None’ on the payment page of iTunes.
- Next, type in a valid billing address of the country for which you’re creating an account.
- Lastly, log into your new Apple TV account to download any geo-blocked app.
How to change your Apple TV location using a router with a VPN
Apple TV doesn’t natively support Virtual Private Networks (VPNs). Therefore, a VPN needs to be connected to a router to use it on Apple TV. For this, you need to connect a VPN to the wi-fi router of your home. It gets easier with the VPNs that offer compatible apps for routers.
For this, first, you need to log into your router’s dashboard by entering 192.168.0.1 and using credentials. Once you’re done, you might find an option to set up a VPN. The process of setting up a VPN depends on the model of your router and VPN provider.


