SeekaPanel is a unique control panel specifically built to ease out the WordPress blog management, by offering access to all functions with a single click.
Many hosting control panels out there such as cPanel or Plesk, offer complex interfaces which are not easy for users to navigate. SeekaHost wants to solve this issue of complexity, with SeekaPanel – an innovative web hosting control panel and easy blog network hosting platform developed by software developer Kasun Sameera, under the guidance of Seekahost’s CEO Fernando Raymond, who is perhaps the world’s leading digital entrepreneur.
SeekaPanel offers 1-Click WordPress hosting solution for domains and private blogs with a clear interface that makes WordPress blog hosting so easy that even a newbie would be able to build a blog without any hassles.
It allows users to easily register domain names, host websites, blogs, business emails, and also track their website performance data. SeekaPanel serves as a comprehensive dashboard whereby users can find all available features to host and manage their WordPress sites and blogs.
Here are Some Unique features of SeekaPanel WordPress hosting control panel
SeekaHost
SeekaPanel explores the simplicity path and makes navigation super-easy for users. You’ll find the following unique features when using the unique WordPress Hosting Control Panel:
- Unique website tracking capabilities
- Free SSL & Migration Services
- Live Chat and Support via Ticket System
- Automatic Updates & Backups of all website content, also can be done manually by user
- Easy Domain registration and website building in minutes using the innovative control panel
The biggest advantage of using SeekPanel for WordPress hosting is the all-in-one access to functionalities such as domain registration and hosting of a private blog network. SeekaPanel will serve as a great tool for bloggers, business website owners, or those who are looking to host and manage several websites in one place for more convenience.
Guide on How to use the SeekaPanel WordPress Control Panel
There is a comprehensive knowledge base with all answers to questions about using SeekaPanel WordPress hosting control panel in building your blog and how to create a blog step by step.
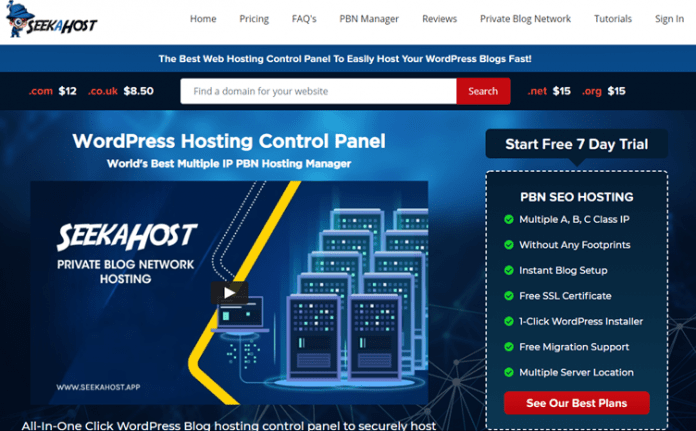
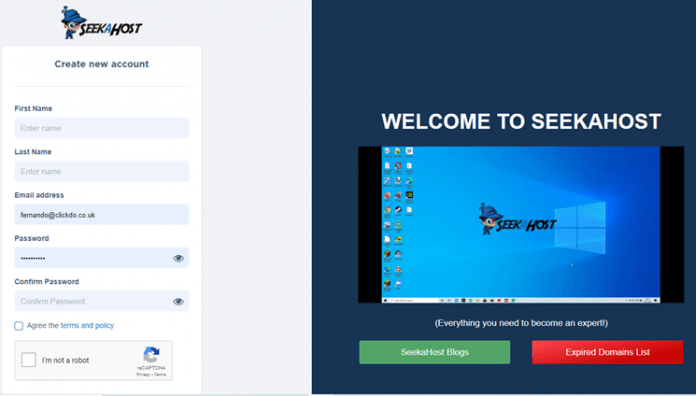
To Get Started with the SeekaPanel WordPress Hosting Control Panel, you’ll have to visit https://www.seekahost.app/ and signup to create a new account.
SeekaHost
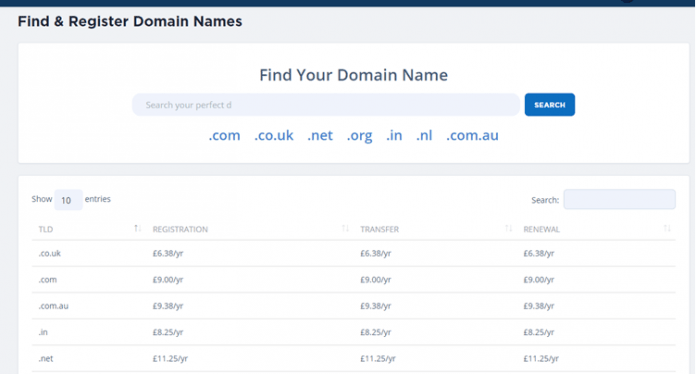
After successfully signing up for a new account, then buy a domain name at https://www.seekahost.app/buy-domain-name/ for your blog or website.
SeekaHost
Now, you can proceed to buying a WordPress Blog hosting plan or private blog network (PBN) hosting plan at https://portal.seekahost.app/pbn-hosting with unique multiple IP class hosting to create your private blog.
And you’re all set to build your first blog or website by installing WordPress to your domain name with the 1-Click WordPress installer. Note that you can migrate your existing website from any web host provider to SeekaHost all for free; also change the name servers even if you have the domain registered at some other registry.
WordPress hosting manager software has never come this easy, so it is time to start building your blog and keep up with your blogging journey!