Summary: Stumbling across a dead hard drive might be shocking and frustrating. It can prevent you from completing your urgent work and pose a permanent data loss threat to all the information saved on the hard drive. To overcome the issue, getting to the root of it is imperative. So what causes hard drives to crash, and what can you do to extract as much data as possible from them? All these questions will be answered in this article.
For someone who heavily relies on their computer for most of the work, it might be quite inconvenient to have a crashed hard disk drive. It might very well be a blocker issue!
A crashed hard drive can set you back on tasks and pose serious risk of data loss. If you’re facing this issue currently, we understand your panic. In case of system errors or bugs, you might have the chance to run quick fixes to restore data, but what do you do when you can’t get your PC to boot at all because of a hard drive crash?
Well, you need not worry. It’s totally possible to retrieve almost all the data from the malfunctioning drive if you act quickly and use the right tool. And as for the question of whether it costs a fortune or does it involve some tricky steps? Well, you shouldn’t expect any such hurdle. Stellar Data Recovery Professional for Windows can help you recover all your data stored on the crashed drive with just a few simple steps.
In this article, allow us to show you how you can use the software to recover data from a failed hard drive. But before we go to the recovery part, let’s see the most common reasons as to why hard drives fail.
What causes hard drives to crash?
Hard drives can fail due to many reasons, and it could be helpful to know them so that you can avoid them in the future. So let’s see these reasons and discuss some tips to prevent them:
- Firmware or manufacturing defects – If the hard drive doesn’t have the proper firmware installed, it will fail to function properly. A manufacturing defect can also easily lead to hard drive malfunction. We suggest you exchange the drive for a working one.
- Overheating – When the computer heats up above a certain temperature limit, it tends to behave in a faulty manner and eventually fails. This is applicable to hard drives as well. So make sure your computer has ample airflow (system fans should be working properly) and the hard drive is not subjected to direct heat.
- Incorrect driver issue – Any hardware connected to the computer requires an appropriate driver for fast and efficient data transfer. If you’re using an external hard drive, but your computer doesn’t have the compatible drivers for it, it may damage the hard drive’s capability to function properly. We suggest you let “Windows Driver Updates” update the drivers for your hard drives.
- Electronic failure – Power surges can ruin the internal components, such as the processor, graphics card, and even a computer’s hard drives. The hard drives are connected through a connector cable known as SATA, which may stop working due to a surge. Changing the SATA cable might help.
How to recover data from a crashed hard drive?
You might be surprised to know that recovering files from a failed hard drive is possible, and it doesn’t even take much time or money. One of the easiest ways to achieve this is with Stellar Data Recovery Professional for Windows.
Stellar Data Recovery specializes in data recovery software and services to help home and business users restore lost or damaged data easily. Data Recovery Professional for Windows is a dedicated product to tackle data damage and data loss scenarios on Windows machines. Using this software, you can recover data of any format and size. The Professional version allows you to create disk images, conduct deep scans to extract more data, recover data from lost partitions, and even restore data from crashed hard disk drives.
Let’s see how you can use it to pull out your seemingly lost data from a failed hard drive.
Note: Since in the case of a failed hard drive, your system most likely won’t boot up at all or won’t stay on for long enough for the recovery process to run successfully. Therefore, to actually recover the data, you will need to create a recovery drive first using another computer. You can use any external drive or USB for this purpose, which you will need to transform into bootable recovery media. Then, you can connect this USB drive to your crashed computer and recover data from it.
Steps to create bootable recovery media:
Note: You will need an empty USB drive (minimum 1GB storage size) for this. Connect it to another computer and then proceed with the following steps on that other computer.
- Go to the product page for Stellar Data Recovery Professional for Windows and click on “Free Download” to save the executable file for the application to the USB drive (StellarDataRecovery.exe).
- Double-click the exe to launch the installer.
- The first dialog box you’ll see is for selecting the language. Select from the drop-down and click on OK to see the Setup – Stellar Data Recover
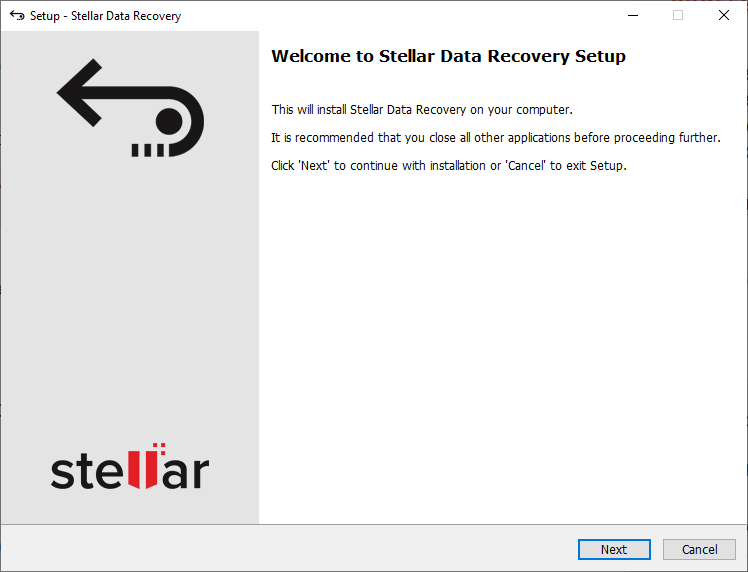
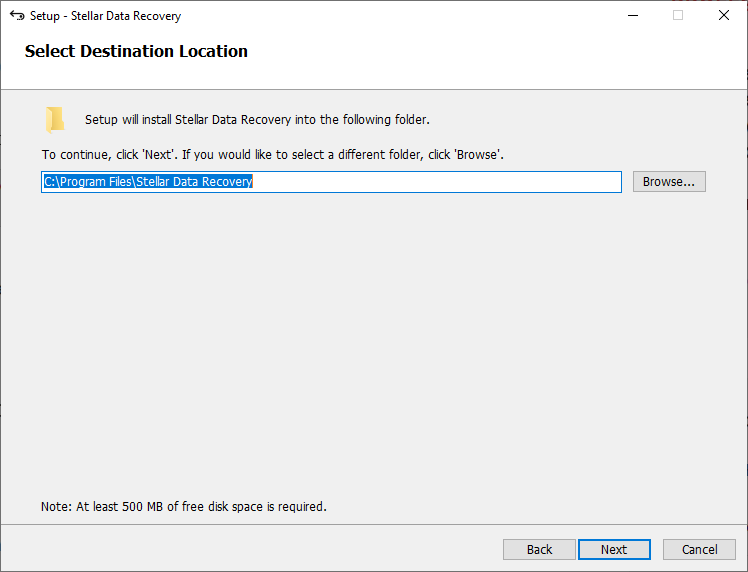
- Click Next to see the License Agreement. Accept the License Agreement and click on the Next button to select Destination Location to install the application.
- Click Browse to select the path, and click on Next. Ensure that the installation path is for the USB drive and NOT the local system to which it is connected
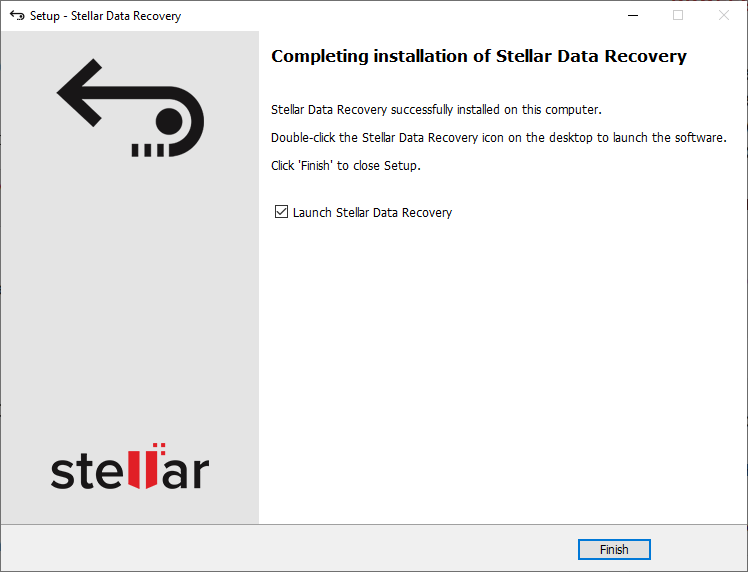
- The installation will start, and when it finishes, you will see a Finish Click on it to exit the installer. You can leave the “Launch Stellar Data Recovery” option checked to automatically start the software after installation.
- The first screen you will see is the ‘Select What to Recover’ Here, click on the ‘Waffle Menu’ at the top-right corner and choose ‘Create Recovery Drive’ option from the drop-down menu.

- This will launch the ‘Create Recovery Drive’ dialog box from which you can select the inserted USB drive using the drop-down list.
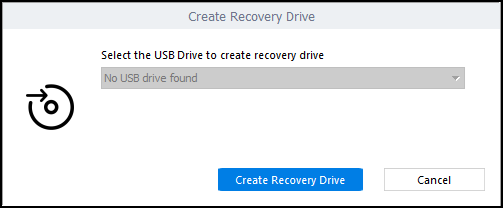
- Click on the ‘Create Recovery Drive’ Then click on ‘OK’ to begin the process.
- Once the process is completed, you will receive a prompt to enter your ‘Activation Key’ for the Professional version of Stellar Data Recovery for Windows. Enter the key and click on ‘Activate’ to proceed further. Make sure you’re connected to the internet at all times during the activation period.
- After Stellar confirms the validity of the activation key, the software creates a bootable data recovery media that can be used to retrieve lost and inaccessible data from a crashed or corrupt Windows computer.
Once the recovery media has been created, you can proceed with the recovery process by connecting this media to the crashed computer. The target computer will need to have this minimum configuration for the software to work properly:
- OS: Windows 10 / 8.1 / 8 / 7 (SP 1)
- Hard disk: 250 MB minimum (for installation files)
- Processor: Intel (x86, x64)
- Memory: 4 GB minimum
Steps to perform data recovery with the software:
- Connect the bootable recovery USB drive to your Windows computer with the crashed hard drive.
- Power on the computer and boot into BIOS using the appropriate key combination. This will differ for each computer depending on the motherboard manufacturer. In BIOS, navigate to the boot menu.
- Use the arrow keys to move the selection to the USB drive and then press Enter.
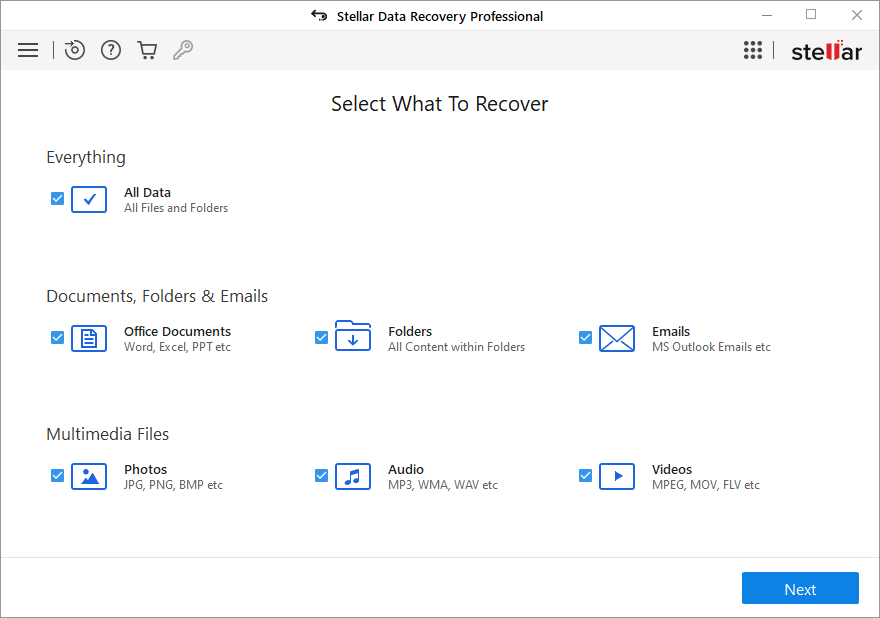
- Once the computer boots up from the USB media, you will see the Stellar Data Recovery software’s home screen. From here, you can choose what type of files to recover. You can choose from images, videos, applications, document files, emails, and even audio files. If you want to recover everything, tick the checkbox that says ‘All data’ and then click on the Next button
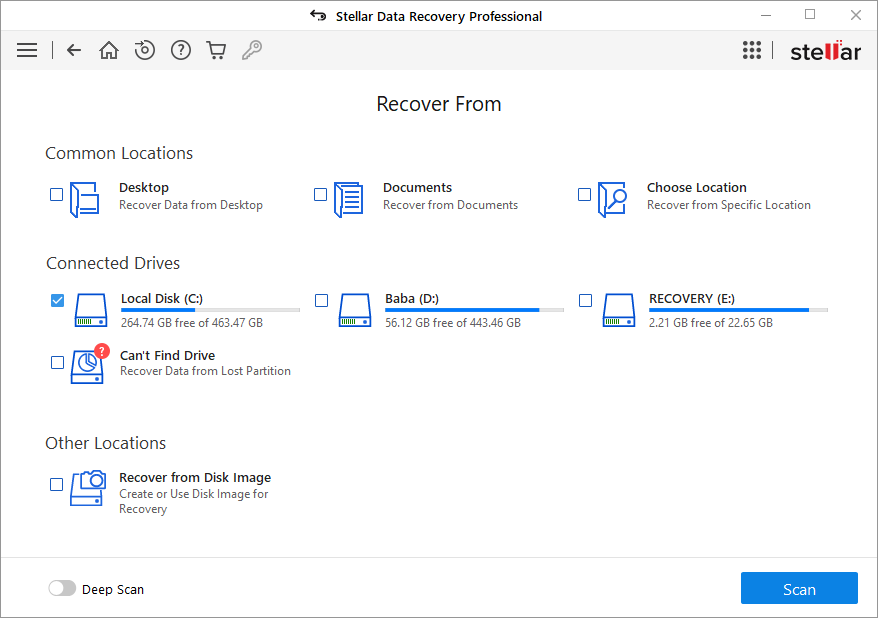
- The next window will lead you to the drives selection section. Here, select the crashed hard drive to recover data from. Click on Scan to proceed.
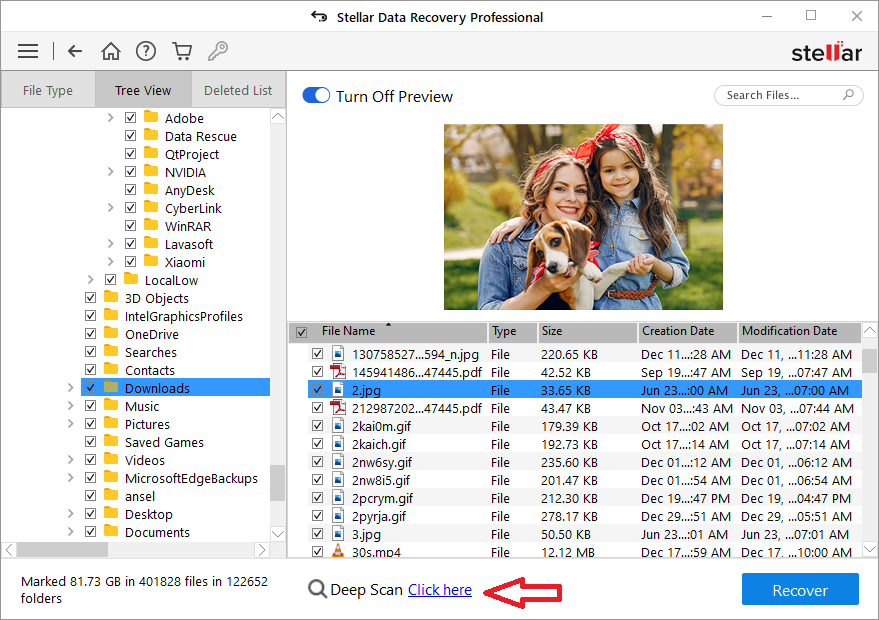
- After the scanning process is complete, select the files you wish to recover. You can preview the recoverable files before saving them to your computer

- If you aren’t able to find the desired files, click on the ‘Click Here’ link at the bottom to run a ‘Deep Scan’.
- Finally, click on the ‘Recover’ Click ‘Browse’ to select a location to save the recovered files. We recommend using an external hard drive to save your recovered data to avoid data overwriting on the crashed hard drive.
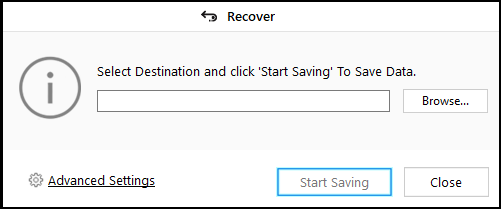
- Finally, click ‘Start Saving’ to save recovered data.
This is how you can easily recover your seemingly lost data from a crashed hard drive. Read along to know what to do after recovery.
What to do after recovery?
After you have recovered the data, we suggest you do these things to prevent future data loss or fatal system failure:
- Backup all your files – Backing up files on platforms like Google Drive or Dropbox is suggested to prevent further data loss.
- Use an antivirus – If you torrent often, please use an anti-malware or antivirus to prevent viruses and malware from harming your computer’s drives.
- Eject your drives safely – Ejecting your drives properly in the future can prevent them from crashing as it stops any ongoing tasks on the hard drive before removal.
- Replace the crashed hard drive – You should get the crashed hard drive replaced as soon as you can. The damaged hard drive will tend to make sounds and overheat, making it unsuitable for use. It will also corrupt the files on the system and make them inaccessible.
Conclusion
With advancements in technology, modern-day hard drives are getting more resistant to data loss. But that doesn’t mean we can be careless while using them. Instead, we must follow safe hard drive-using practices to prevent data loss and data corruption on these drives. Practices like safely ejecting the drives, saving and deleting files properly and formatting drives the right way can go a long way to keep them running well.
We hope these tips could help you solve your hard drive issues. If not, we suggest you take your drive to a certified service center or Stellar’s Recovery Lab for proper data recovery.