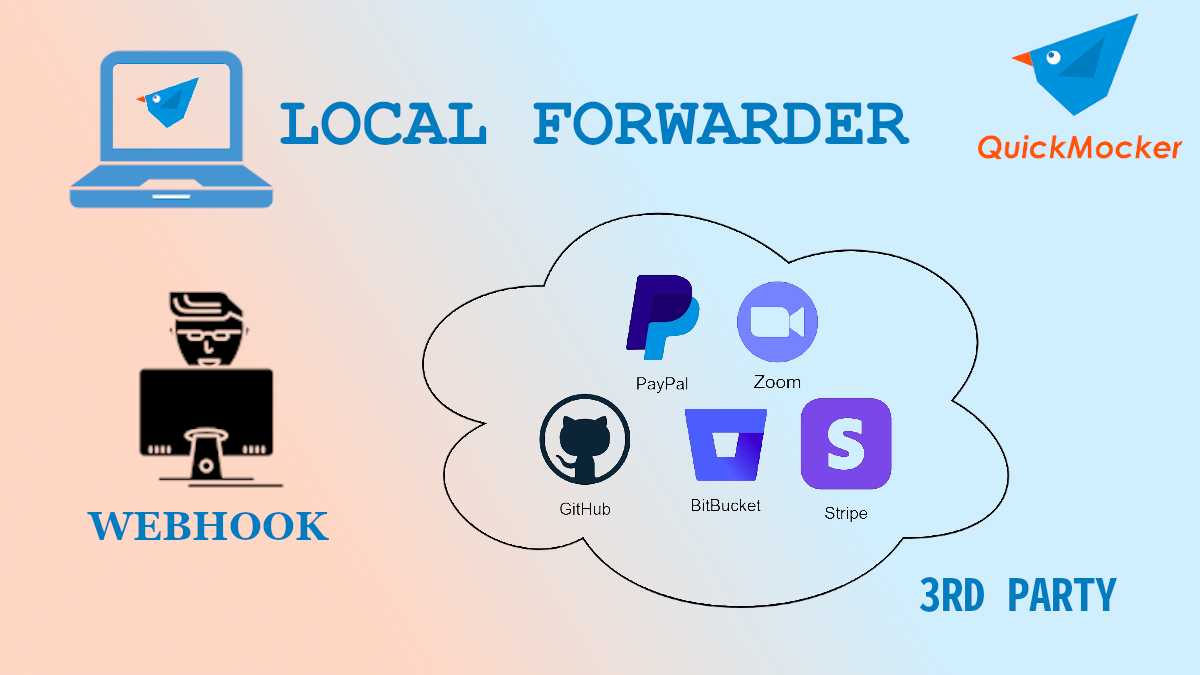
Testing and Debugging Webhooks on the Localhost
Did you ever have experience creating webhooks for some server/web callbacks? If you are a software engineer, especially those who work with server related technologies, most likely you had an opportunity to work with the server applications communication approach where server app #1 sends a request to the server app #2 after a specific event occurred. Nowadays it’s difficult to imagine some 3rd party service without the support of the webhooks. Zoom, Stripe, Bitbucket, GitHub, 2Checkout, Paypal, GoTo… this list is endless because almost every 3rd party service from well-known and down to those you’ve never heard about do send reverse requests back to webhook endpoints of the clients.
What’s the problem with testing/debugging webhooks?
So, if you did webhooks integration in the past, you probably had some problems with testing and especially debugging your app webhooks. The reason behind these difficulties is that in order to perform a test, your app’s webhook should receive a request. But while your app is in the local environment most likely it is not possible. The localhost which is using a local network IP address (e.g. 127.0.0.1) is obviously not reachable from the outside. Neither your home/office network IP address (e.g. 192.168.0.1) is reachable within the Internet. What’s the solution here?
Usual solutions for webhooks testing/debugging issues?
- Exposing your localhost to the world. How? If you work from home, you may simply add router forwarding of port 80/443 traffic to your computer. Additionally, you need to make sure that there are no firewalls blocking the traffic. If you work from the office, most likely this is not an option for you due to your company policies and security restrictions. After all, it’s not only you who need this and the external IP address is usually one per office.
- Using 3rd party API documentation mock a few samples of data and hit your webhook with this data using some local API tool like Postman. As practice shows, only documentation and its samples are not enough to cover many test cases.
- Deploy your app to some remote server with an external IP address, possibly some domain name linked, and do testing there. This is a good option, but you need to get this remote server somehow, and still, this option is not the best in terms of debugging, managing your code updates, etc.
Online API mocking tools
There’s one more alternative solution to this: Online API Mocking tools. There are many other names for such online services like fake API, dummy API, online API stub, API for tests and so forth. Those tools are pretty similar. They allow you to create fake API or dummy API endpoints with a real URL that could be reached from the Internet. Some of them allow you to capture (intercept) those requests and view their request data (headers and body). Currently only one online API mocking tool allows you to manually or automatically forward (proxy) the request to your server application on the local environment. The name of this online API tool is QuickMocker.
How to use QuickMocker for webhooks testing and debugging?
QuickMocker is a free tool with many features for API mocking, nice and intuitive interface and a very simple registration. Let’s go through the required steps in order to perform testing and debugging your webhooks on your local machine using QuickMocker:
- You can create a dummy API account just in a few seconds.
- Create an API project (collection of endpoints) QuickMocker will generate a subdomain for your project automatically. It will be something like https://wr8op02m7r.api.quickmocker.com.
- Add an endpoint mock to the project with the same URL path as your webhook, so the final URL of the webhook mock will be something like https://wr8op02m7r.api.quickmocker.com/my-test-webhook. Make sure that you selected “POST” inside the Method drop-down.
- Go to the Requests Log tab where the requests from the 3rd party will be captured
- Click the Set Local Forwarder button and provide a base URL of your server-side app which is on your local machine, e.g. https://localhost. If your app is not using secure HTTPS protocol, you will need to allow insecure content from QuickMocker site.
- One more thing you’ll need is to enable the CORS and OPTIONS method for your “localhost” application. Because QuickMocker is using a browser to forward requests to your app, the CORS and OPTIONS method are required.
All of the requests will be logged on the Requests Log tab. You can manually forward the same request to your local app multiple times at any given time. No need to trigger this notification on the 3rd party side which is really handy. Finally using this approach except for testing, you can even debug your app. So, simply create a free account at QuickMocker and try to test and debug webhooks from your local environment.


