
Watch
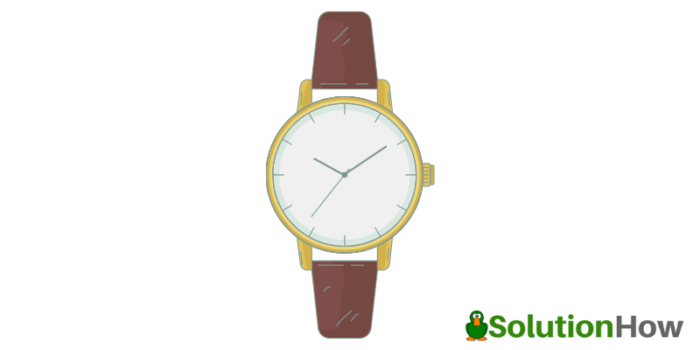
A watch on your wrist is a very appealing accessory. If worn right, it can make your outfit stand out among the crowd. It serves as another purpose aside from your determining the time of the day.
Furthermore, the different parts of a watch are fun to switch and change. It makes it more personalized. The bezel and Seiko SKX ceramic bezel inserts are the most popular modifications on dive watches. Stay in the safe zone with an enhanced visual appeal of your watch.
Do you want to customize your watch on your own? Read on as we discuss the beginner’s quick guide to modifying bezel and bezel inserts.
Tools Needed To Modify Bezel And Bezel Inserts
Before the fun starts, prepare all the tools needed first.
Adhesive
Attach the new bezel insert to the bezel. Choose either contact cement or double-sided adhesive tape.
Alcohol
Maintain the cleanliness of the watch, especially in the removal of oil and dirt.
Cotton bud
Removes the remaining residue on the bezel.
Flat Screw Driver
Assists in removing the old bezel insert from the bezel.
Gloves
Wear gloves or finger cots to avoid direct contact of fingers to any watch parts. It prevents them from leaving fingerprints. Also, it protects the watch.
Pocket Knife
A little bit sharper than the prying tool (butter knife) to ease prying between the bezel and the case.
Snap Back Case Opener
Pry open the bezel from the watch case with a prying tool. For an easier prying process, get one with a huge area to grip.
Tape (optional)
Protects watch from scratches and damages during the bezel removal.
Toothpick
Helps in applying adhesive on the new bezel insert accurately.
Once all tools are completed, proceed with modifying bezel and bezel inserts. Be ready with your watch’s new look.
Step-by-step Guide For Beginners To Modify Bezel And Bezel Inserts
Changing the bezel inserts is not complicated. It only takes 4 easy steps to modify bezel and bezel inserts.
Step 1. Remove The Bezel
Place tapes on the watch surfaces and lugs to protect it from scratches and damages. Look at the edge between the bezel and the watch case. Insert the knife and give a little push to pop it up. Once there is enough space, hold it with your thumb firmly. Place the prying tool between the gap and gently move it from side to side until it pops it all.
Important Tip:
- Be careful of the bezel click spring when removing the bezel. Any minor dent can prevent the bezel from rotating.
- Pry open the bezel from the watch case between the lugs to avoid visible cosmetic damages.
Step 2. Remove The Bezel Insert
Flip the bezel on the other side. Look for the lip of the bezel insert. Push the bezel insert out with a very thin flat screwdriver. Gently work the way through around the bezel insert track to disrupt the adhesive. Once the bezel insert is loose, remove it safely from the bezel.
Check the bezel insides for any residues left. Use a cotton bud with a small amount of alcohol to clean it. Work it around until there’s no more visible dirt. Clean the new insert also. It makes a clear and strong bond between the bezel and the new insert.
Important Tip:
- Be careful when removing bezel inserts. Metallic and aluminum are susceptible to bends. Ceramic is brittle and breaks when dropped.
- First-time bezel insert removal is relatively tough. It gets easier after a few replacements.
- Take note that the lume pip comes separately with the insert. Tape it to avoid losing it.
Step 3. Fit The New Bezel
Put on the bezel back into the watch case. Do it without the new bezel insert. This allows a better bezel insert alignment. Then, push down and snap back into place. Work it around until there’s a click sound.
Important Tip:
- Check the bezel placement. If it rotates around smoothly, it means it fits perfectly.
- Work on it carefully without damaging the bezel click spring.
Step 4. Fit The New Bezel Insert
Use an adhesive like contact cement to attach the new bezel insert. Get a toothpick to take a small amount of contact cement. Pay attention to where to put the cement. Look at the surface of the insert that comes in contact with the bezel. Spread it on the surface.
Align everything up. Place the bezel insert with its 12 o’clock marker in parallel with the dial and chapter ring markers. Once sure, align the insert. Check for adhesive residues. Remove it by gently rubbing it off. Secure the new bezel insert by pushing it down hard. It firmly seals the bezel and the new bezel insert.
Important Tip:
- Only a little amount of contact cement is needed. Contact cement provides room for movement in case of misalignment.
- If double-sided adhesive is used, place it correctly onto the back of the bezel insert.
It takes 4 easy steps to give your diver’s watch a new look.
Improve the overall aesthetics of your timepiece without too much fuss. Modifying Seiko parts like the bezel and bezel inserts as discussed above. Even you can do it at home with the complete tools.


You must be logged in to post a comment.