How to organize and digitize your old photos
Do you own a huge collection of old photos loaded with dust on them in a closed attic and you wish to store them properly but not sure how to do so? If yes, you need not to worry anymore. Photos are another name for memories that are meant to kept safe and protected. Therefore, we have listed down some steps you can follow to organize and digitize your old photos to keep your memories safe. Organizing and digitizing are the two steps you need to focus on. However, if your photos are ancient and require amendment, go for the best photo restoration service in the town. Then you can follow the next steps. Let’s jump to the next part of the article to explore these steps.
1. Organize the photos
It is important to organize your old photos before you digitize them. This might create a mess in the beginning but will help a lot later on. You can organize the photos either by events and people or family. Make sure to separate the duplicates and make a separate file of them to avoid repetition. Then sort out these organized photos on the basis of the date and or year.
Once done, pick out the photos that need to be digitized. Definitely you will not want to digitize all of them but only the important ones. So, it’s better to separate these to avoid any confusion.
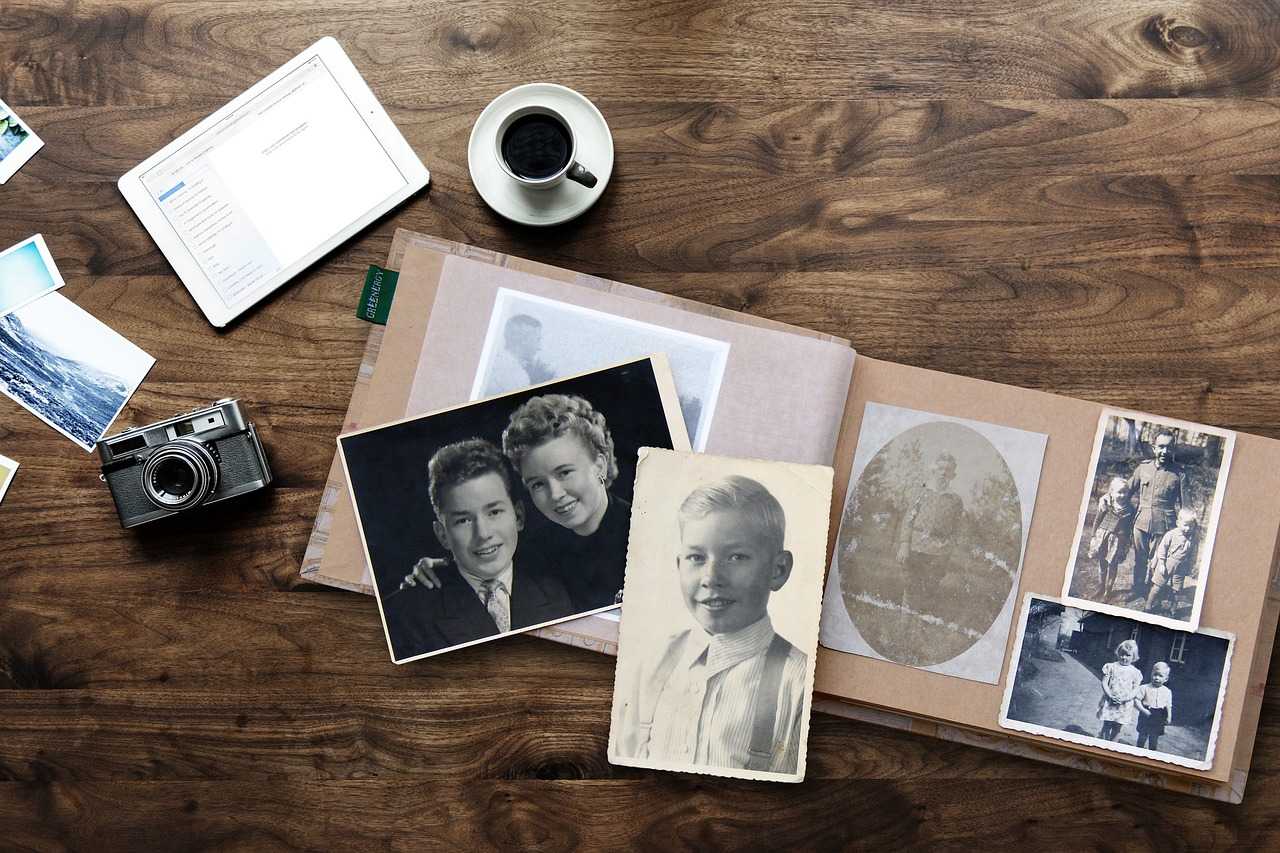
2. Equip yourself
Now either you can avail scanning services from the market or do it yourself. If you wish to do it yourself, you need to have the required equipment. Auto feed scanner and flatbed scanner are the two recommended scanners to use. The first one is more convenient and easier to use, however, the latter one is preferred for cases when you have to take large prints.
Android phone and tablet scanners can also be used to scan photos. With the advancement in technology, the features offered by Android gadgets have been improved and provide its users with a quality experience of using these features such as perspective transformation, cropping, and automatic edge detection, all of which are very useful for digitizing photos.
Last but not the least, a digital camera can also be used for scanning purposes. However, it isn’t recommended to use traditional ones as they require a lot of time and energy and other features such as lighting and angles for making adjustments to the pictures.
3. Decide on storage
The next step is to decide where to store these digitized images. You can either store them in internal storage or on external storage such as drives or cloud storage. Thumb drives are also a good option. Also, don’t forget to keep a backup of these photos to be on a safer side.
4. Adjust settings
Adjust the settings of your scanner in a way that all the scanned photos automatically get saved in your desired storage form that is either in the internal storage or in the external storage. This would help save plenty of time and energy.
5. Start the scanning process
Next, start the scanning process pile after pile, so you don’t mix them. Ensure making a separate folder for each pile in your selected storage.
6. Share and enjoy
Finally, you’ve organized and digitized all your photos! Now it’s time to look through them and relive your memories. You can also share them with just a click and make your family members a part of your joy.