2D Floor Plan
Make your building plans come to life with this easy-to-follow guide. Whether you’re planning a new home or you want to upgrade an existing one, there’s no better way to visualize how your space will look than with a diagram that’s more than just words. Here are some tips and tricks on how to create a 2D floor plan.
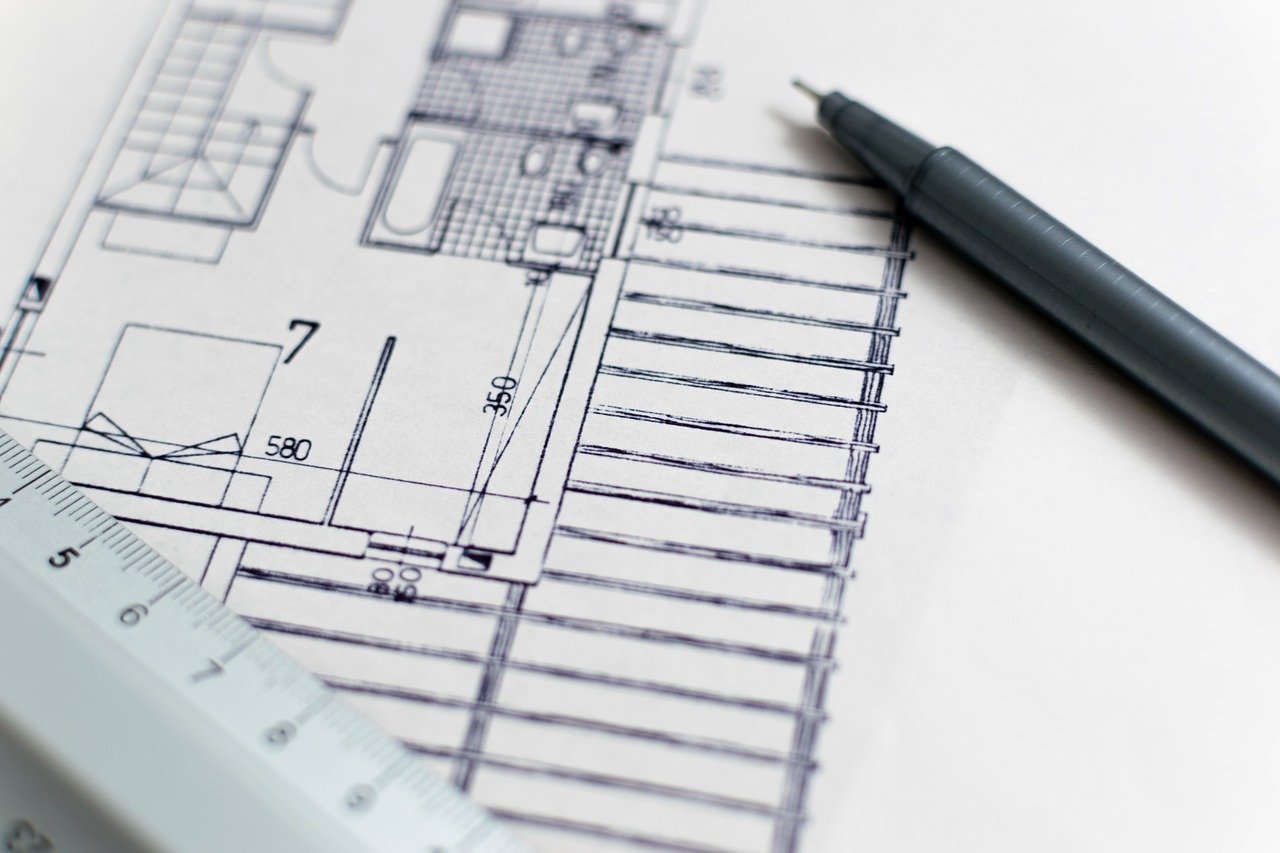
What is a 2D Floor Plan?
2d floor plan creator is a diagram that displays the spatial layout of a building, including the location and size of rooms. A 2D floor plan can be created using graph paper, Microsoft® Visio®, or other software programs. They provide an excellent visual representation of how a building will look when it’s realized, which is useful for obtaining approval from the city planning department.
How to create your own 2D Floor Plan
This guide will walk you through the process of creating a 2D floor plan. First, you’ll need to understand what a 2D floor plan is. Essentially, it’s a diagram that shows where each room in your building is and how they are connected.
Next, you’ll need to be sure to choose the right medium for your project. There’s no one-size-fits-all type of plan–you have many different options available, depending on what you’re looking for. For example, if you want to doodle out an idea for your new home or office space, then you might prefer a digital drawing pad like Microsoft OneNote or Apple Notes. If you want an easy way to share your ideas with others without spending too much time on the design process, then consider using a whiteboard or marker board and tape it up against a wall where everyone can see it.
Tips to make your floor plan more realistic
The first step to creating a 2D floor plan is to have the right tools. Aside from paper, you can use a computer software program like Adobe Illustrator, bookbinding tools like glue and adhesive tape, or even graph paper. You’ll also need a ruler, with either metric or imperial markings.
You’ll then want to decide what you’re going to draw on your floor plan. The first layer of your floor plan should be the walls. Draw the outline and add where each window will go (or figure out how they will open). Then, add lines for the doorways and doors and make sure that they are in the right spots so when you put them in 3D space, it makes sense.
The next layer will be the furniture arrangement of your room or building, including each piece’s size and where it goes in relation to other pieces. For example, if there is precious metal furniture and it needs to stay off-limits for safety reasons, write that down on the floor plan as well.
The 2D Floor Plan is a blueprint for your project. It allows you to visualize what your project will look like before you actually start the project. It will also allow you to determine the size of the room, the number of square feet, and the number of people that will be in attendance at your event.
Creating a 2D Floor Plan is a great tool for planning. The process is easy, and you can make it happen on your own by following these tips and instructions.