With the introduction of cheap DSLRs and mobile phones, people are able to take top-notch pictures in just one click. However, most of them do not get framed. That’s because people think that printing photos involves a lot of effort.
But is it so? Well, we will find it out. If you are here with a similar concern then it’s time to transform the thoughts. Today, we will be discussing some effective steps by which one can make a photo print.
7 Steps to Make a Photo Print
Photo printing can sound like complex work. However, just a few steps can help you get proficient outcomes. Here is a 7-step method to make a photo print
Select the Picture
You might have tons of pictures to get printed. Thus, choosing that one picture for a successful photo print is the primary step of the process.
Take your time and do not be hesitant. Try to select a picture with all the personal preferences into consideration. Also, check other details like colors, themes, and texture.
Start with Calibration
If you want to print photos at home then calibration of the display is quite important. However, the same can be tough if an image has to be edited for print.
That’s because calibration is helpful to synchronize the image on the screen and the outcome after printing. Thus, calibrating your display or investing in a good screen for prints are certainly important.
Soft Proofing
Soft Proofing can help to match up a profile with a printer and paper. It can show what colors can be printed and what cannot. You can customize the image as per this feature.
It can analyze the paper type and tell which ones are suitable for any specific photo series. Different papers/printers are likely to produce different colors.
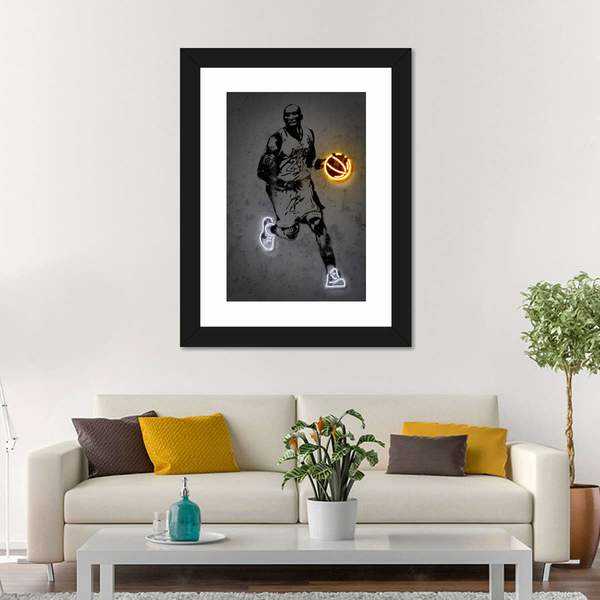
Select the Best Paper
Picture
Source: Elephantstock
From matte to metallic, when it comes to varieties of paper, the list can be pretty long. With such vast options, one might get confused. Mostly those who have not spent enough time in a print lab.
With that being said, it’s best to start with samples from a canvas art company. With this step, you will get the opportunity to try paper for free.
Utilize the Profiles
A photo goes through a lot of edits, translations, and conversions before it gets finally printed. Thus, to ensure better translation, using a profile is quite necessary. There are numerous manufacturers that render download options for these files.
All you need is a quick installation and that’s it. Good outcomes are likely to be in your hand. The results are likely to be close to what is displayed on the screen.
Check the Images in Good Light
In the next step, the images should be viewed under neutral lighting. One of the best ways to check the picture is under daylight.
That’s because it is a genuine and authentic light source. You can also try a color viewing lamp to check the images in a cost-efficient manner.
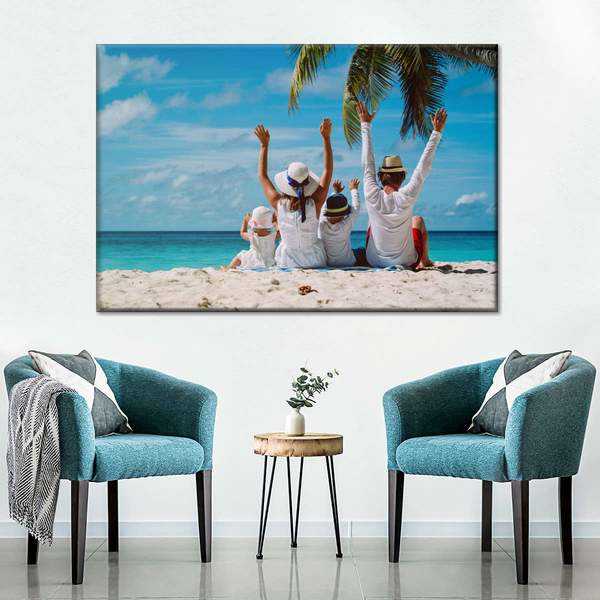
Frame the Images
Frame the Images
Source: Elephantstock
There you go! After a long process, you have a self-made photo print in your hand. Satisfactory, right? Framing the photo is like a victory in your hand.
With so much convenience, presently, you can frame photos by using home kits.
Once the entire process is done, the feeling is quite victorious. Now that your images are framed, you can hang them anywhere.
Conclusion
That’s it. These were some of the tips about how to make a photo print. By following the above-mentioned tips, you can have a good-quality photo print without any hassle.
If you liked this read then make sure to go through our other blogs too. Happy reading!