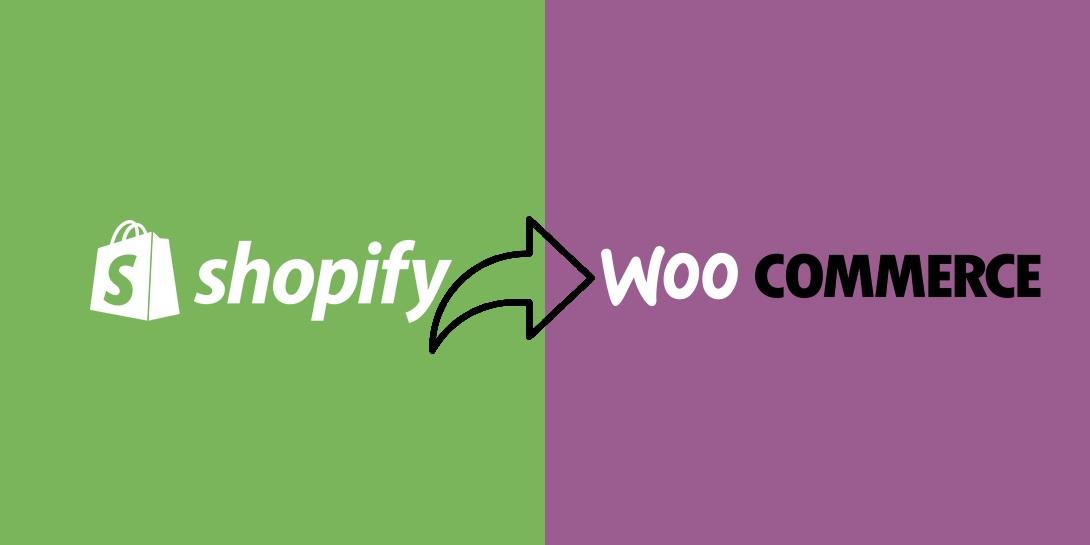
Shopify to WooCommerce
Both Shopify and WooCommerce are widely used e-commerce systems that provide companies with the ability to create and operate their own online storefronts. Because Shopify is a hosted solution, the platform is responsible for managing all of the facets of the store’s technological aspects, such as the store’s hosting, its security, and its software upgrades. On the other hand, WooCommerce is a self-hosted solution, which means that users are responsible for setting up their own web hosting and managing the technical components of the shop on their own.
Even if each platform has its own advantages and disadvantages, there may come a point when a company has to switch from Shopify to WooCommerce in order to meet its e-commerce demands, such as in a Shopify to WooCommerce migration. It’s possible that the company has expanded to the point where it needs more choices for customization or more flexibility than Shopify can supply; alternatively, it’s possible that the company is seeking for a solution that is more cost-effective.
Changing over from WooCommerce to Shopify might seem like a challenging endeavor regardless of the motivation for the switch. We will walk you through the process of transferring your online shop from Shopify to WooCommerce in this step-by-step tutorial.
Step 1: Set up a WooCommerce Store
Establishing a storefront on WooCommerce is the first step in moving an online business from Shopify to the WooCommerce platform. To do this, you will need to choose a web server, install WordPress, and then install the WooCommerce plugin. There are a lot of web providers out there that focus on providing WordPress hosting and have one-click installations of WooCommerce and WordPress available.
Once you have your WooCommerce shop up and running, you can begin tailoring it to your specific requirements by clicking the “Customize” button. You can modify WooCommerce in a lot of different ways, and there are a lot of plugins and themes that you can use to help you make your online shop seem special.
Step 2: Export Data from Shopify
- Shopify
The next thing you need to do is export your data from Shopify. Shopify gives you the ability to export your customers, orders, and items in a CSV file format. To export your data, you will need to log in to your Shopify account, browse to the “Products,” “Customers,” or “Orders” page, and click on the “Export” option on that page.
You could also wish to export other data, such as product reviews and photographs, if you have access to such things. Using third-party software or an application that can assist you in exporting your data from Shopify is one way in which you may accomplish this goal.
Step 3: WooCommerce data import
You may import your data into WooCommerce after exporting it from Shopify. You may import items, clients, and orders with WooCommerce’s integrated CSV importer. Go to the “Tools” section of your WooCommerce dashboard and choose “Import” to utilize the importer. Then, choose the CSV file that Shopify produced, and follow the on-screen directions to import your data.
Step 4: Set up Payment Gateways and Shipping Methods
Next, it will be necessary for you to configure the payment gateways and delivery options for your WooCommerce online shop. Since WooCommerce offers a large number of different payment gateways and delivery methods, you should be able to choose one that is suitable for your requirements.
To configure payment gateways, go to the “Payments” section of the WooCommerce dashboard on your website and choose the payment gateway that you wish to use. To setup the payment gateway, just follow the on-screen instructions.
You may set up shipping methods by going to the “Shipping” section of your WooCommerce dashboard and selecting the delivery option you wish to employ. When configuring the delivery method, follow the instructions that appear on-screen.
Step 5: Test Your Store
After you have finished putting your shop together, the next step is to test it to make sure that everything is operating as it should. You may test your online shop by placing dummy orders and ensuring that the payments are received properly and that the delivery methods are functioning as planned.
You should also test your shop on a variety of devices and browsers to make certain that it maintains the same appearance and functionality across all of the platforms.
Step 6: Redirect Traffic from Shopify to WooCommerce
Finally, after you are satisfied that everything in your shop is operating as it should, you can begin to redirect visitors from your Shopify site to your WooCommerce store. This step may be performed once you have tested your store and are certain that everything is functioning as intended. In order to do this, you will need to set up 301 redirects that will point customers from their old Shopify URLs to their new WooCommerce URLs.
You can establish.
Summary
There is a lot of labor involved in switching from Shopify to WooCommerce. Additionally to importing and exporting goods across stores, you also need to completely redesign your website. Thankfully, WordPress makes it simple to design your new shop the way you want.
You have a lot more control over your shop with WooCommerce than you do with Shopify. This is made possible by WordPress’ open-source nature and huge popularity. Consequently, you won’t likely ever run out of novel features to test in your business.